|
Configuration
|
|
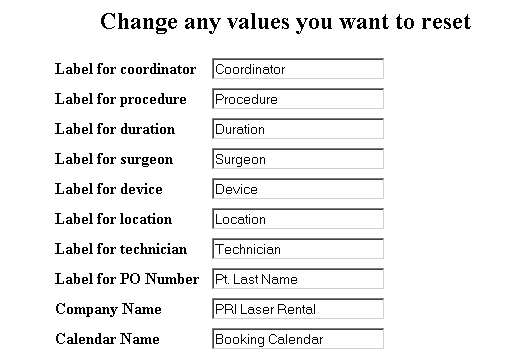
Labels and Terminology
|
|
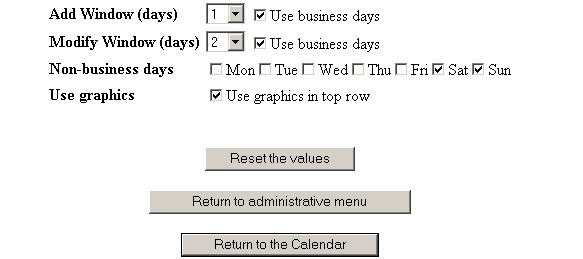
Business days
|
|
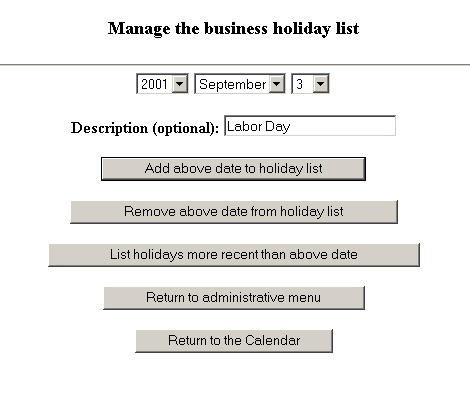
Holidays
|
|
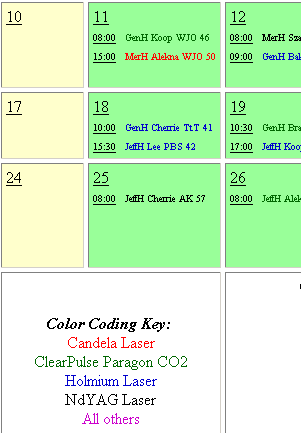
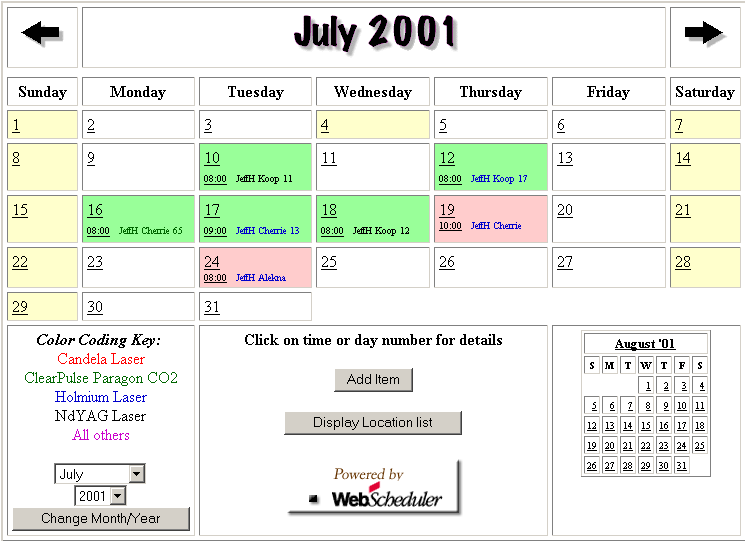
Device colors
|

|
Email
|

|
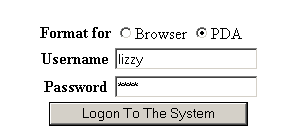
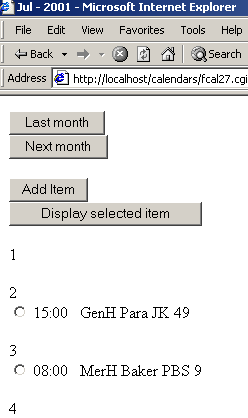
PDA format
|
|
Calendar Views
|
|
Month View
|
|
Day View
|
|
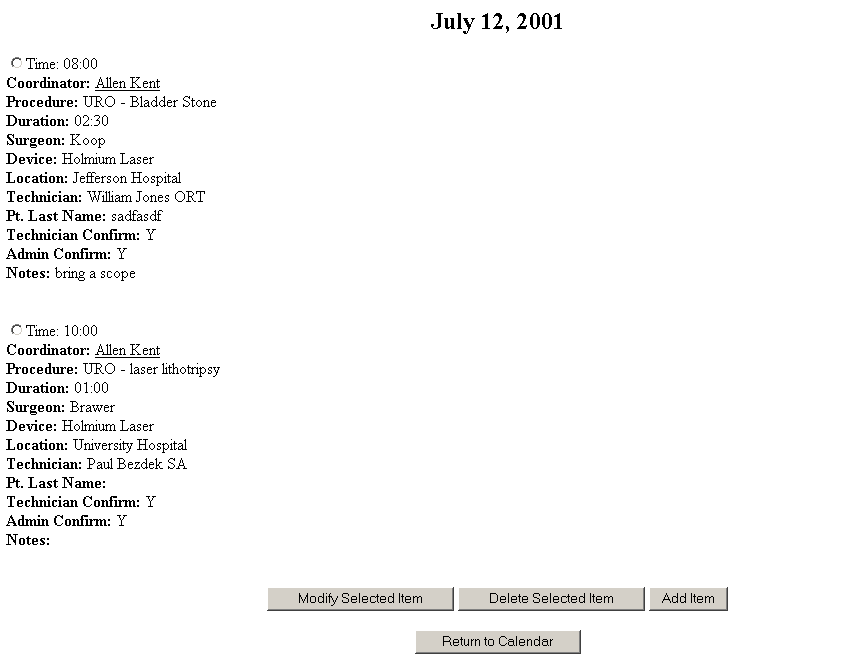
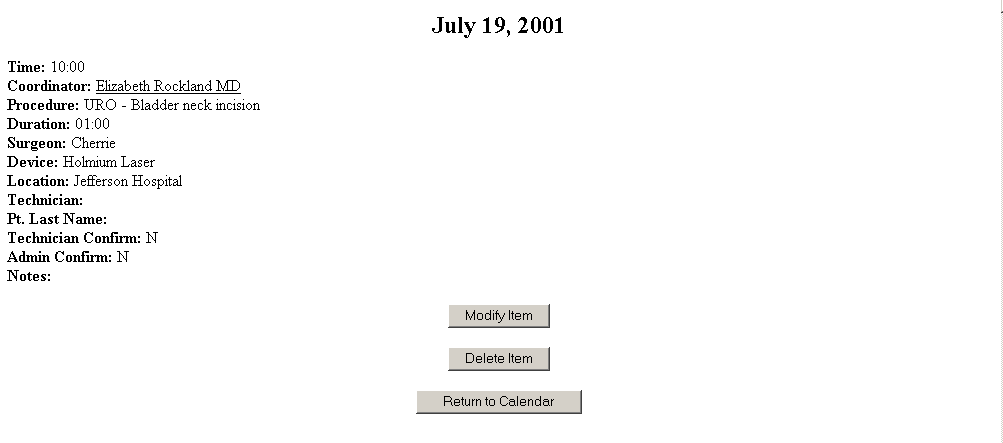
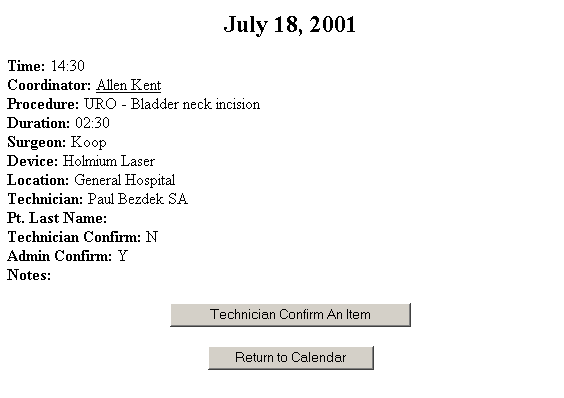
Event View
|
|
User Month View
|

|
Administrator Month View
|

|
Technician Month View
|

|
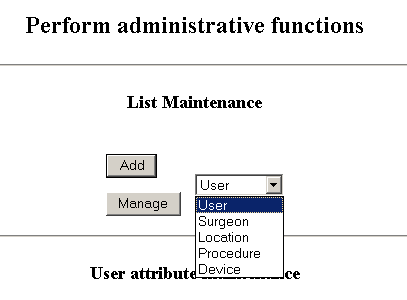
Maintaining Lists
|
 .
.
|
Surgeon Device Procedure
|
|
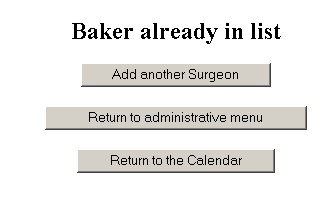
Add Surgeon
|

|
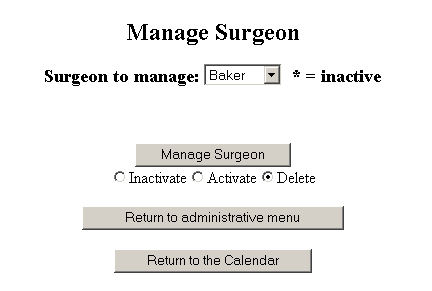
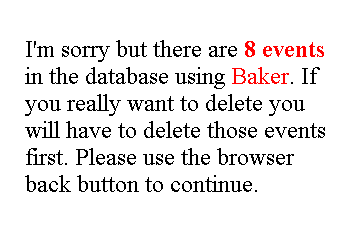
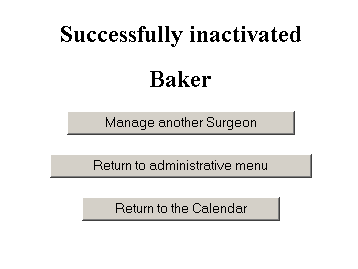
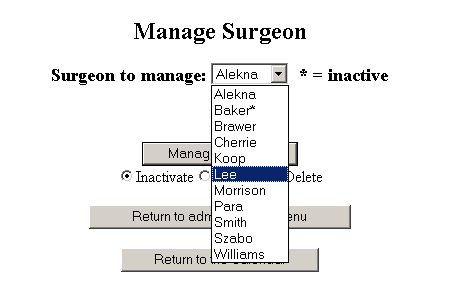
Manage Surgeon
|
|
Location
|
|
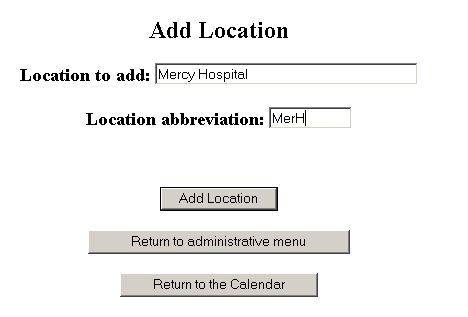
Add location
|
|
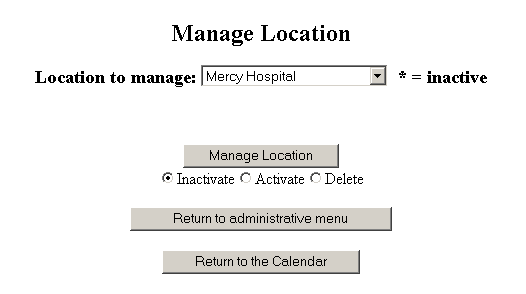
Manage location
|
|
User
|
|
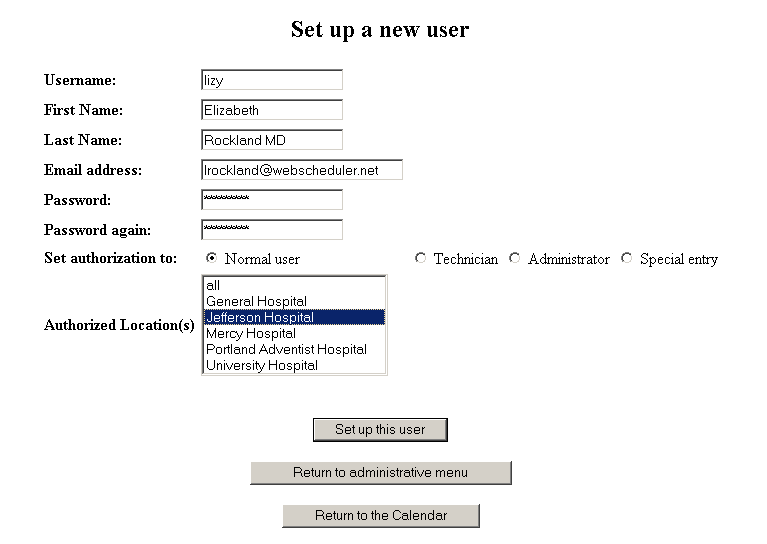
Add User
|
|
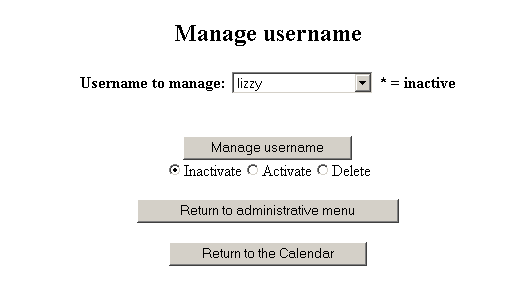
Manage User
|
|
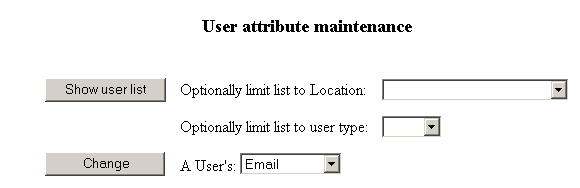
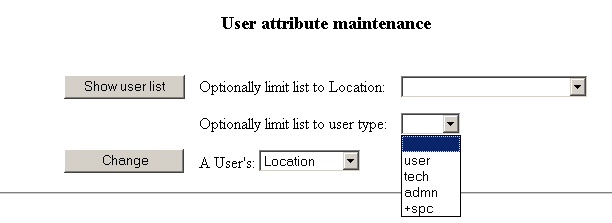
User Attributes
|

|
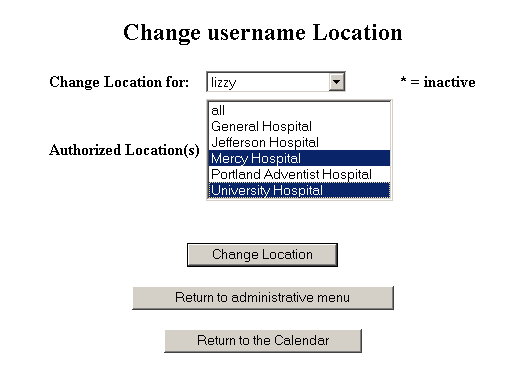
Change user location
|
|
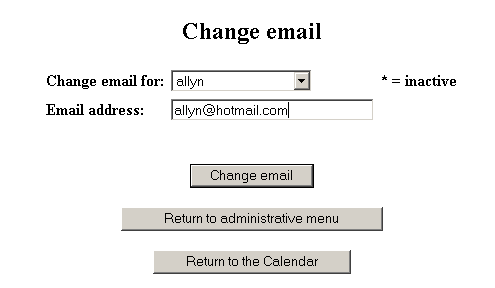
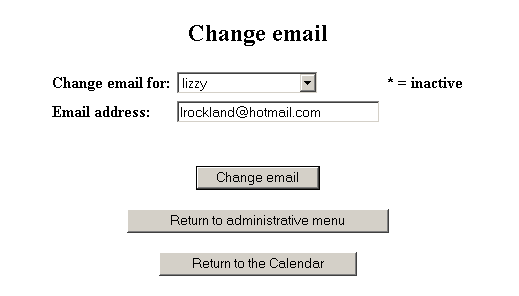
Change user email
|
|
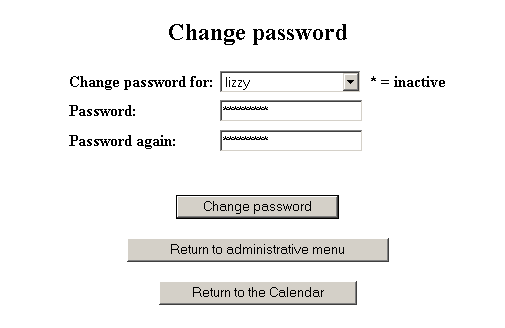
Change user password
|
|
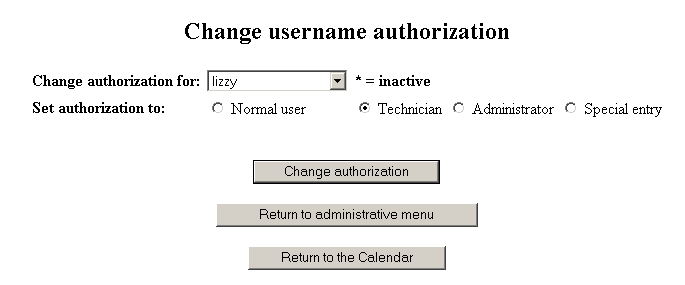
Change user authorization
|
|
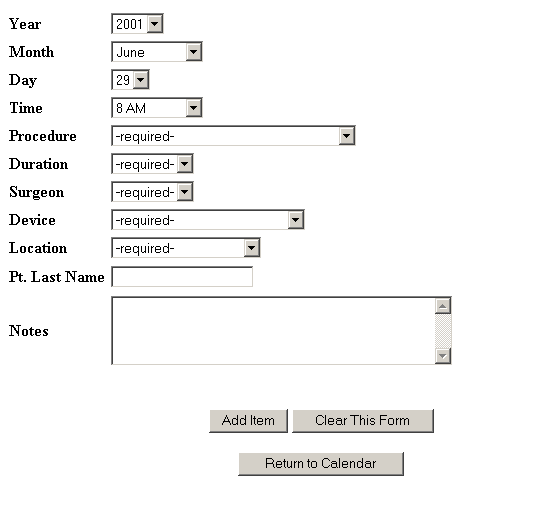
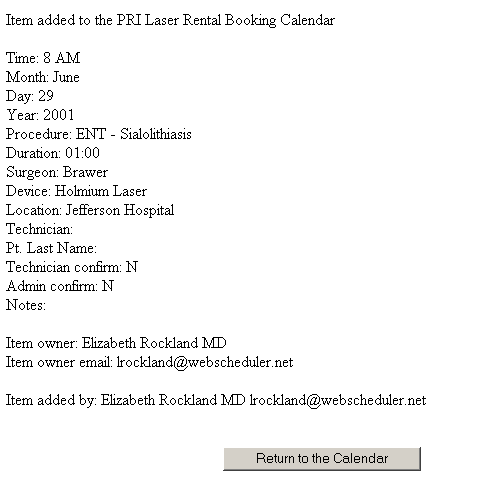
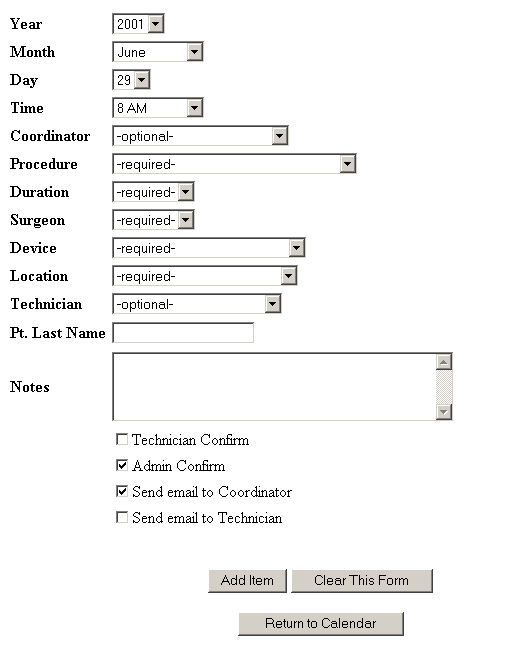
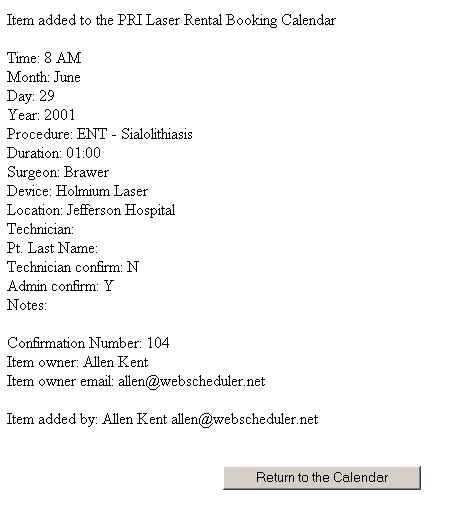
Adding an event
|
|
User Add
|
|
Administrator Add
|
|
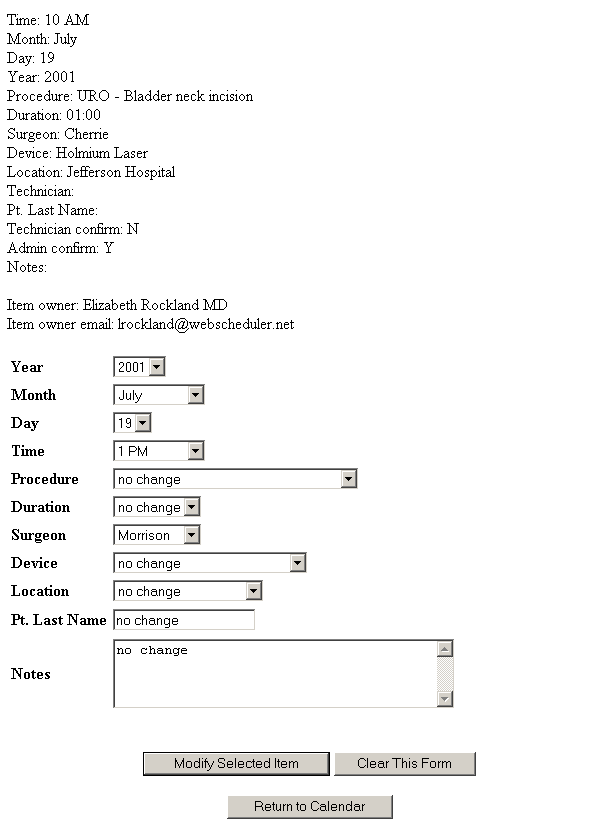
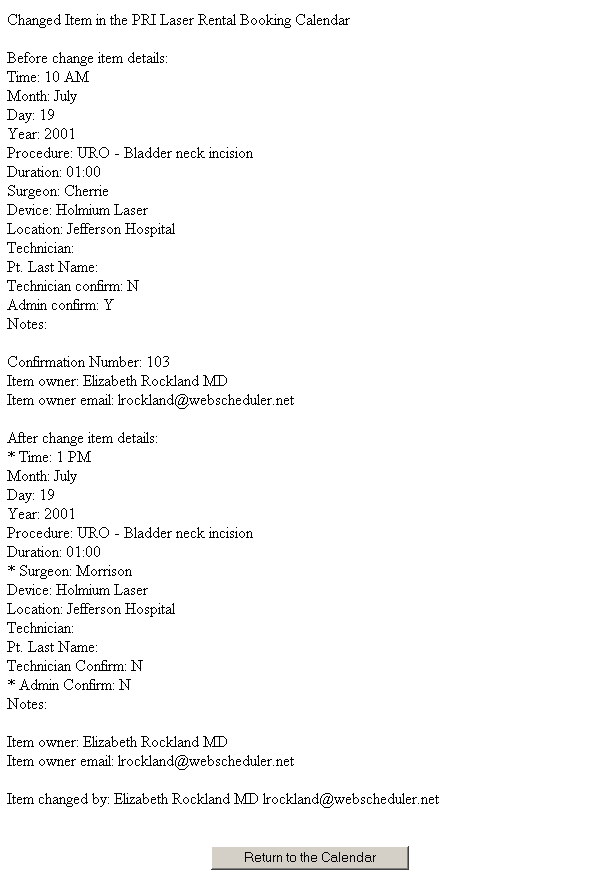
Modifying an event
|
|
User Modify
|
|
Administrator Modify
|
|
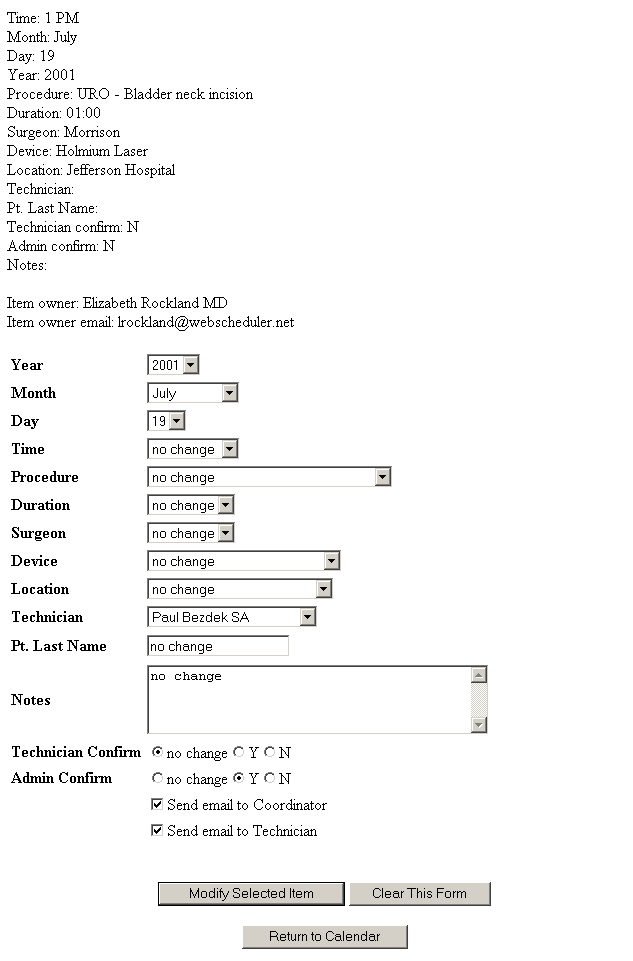
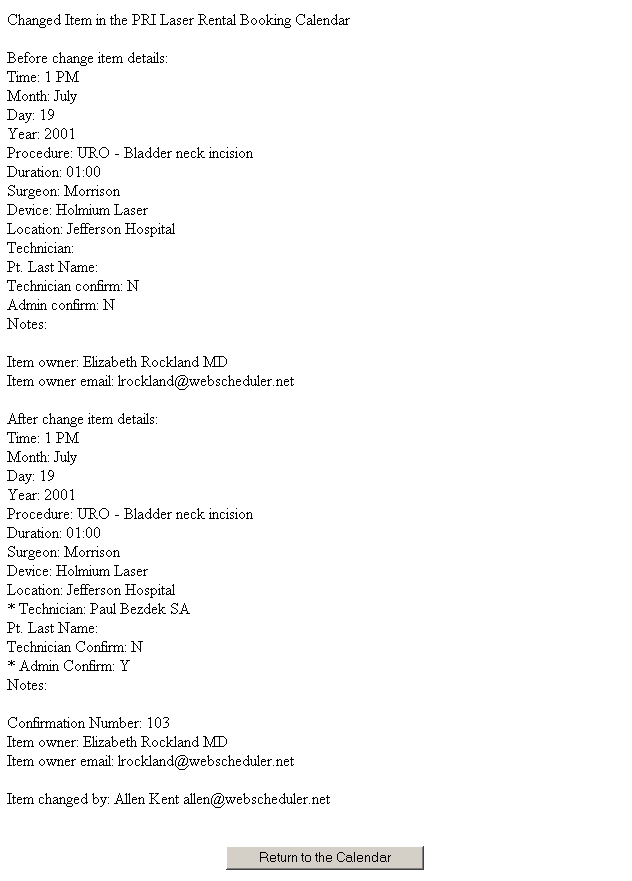
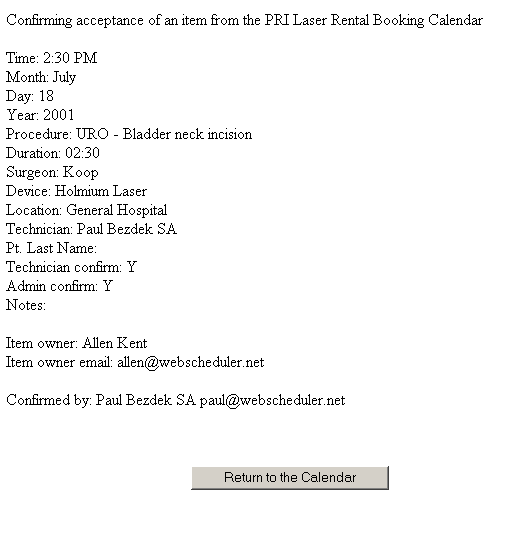
Technician Modify
|
|
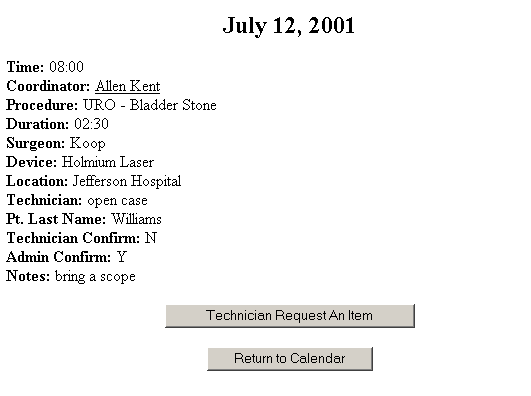
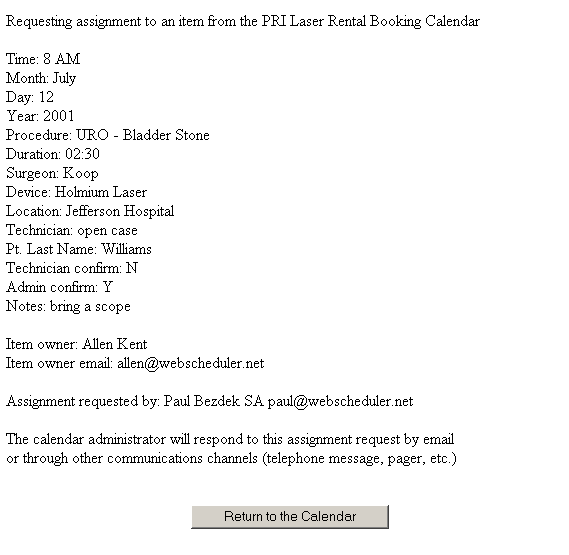
Technician Request
|
|
Deleting an event
|
|
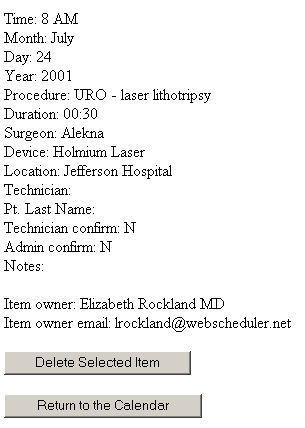
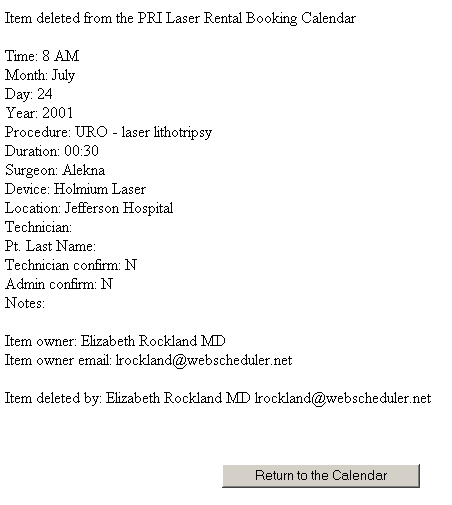
User Delete
|
|
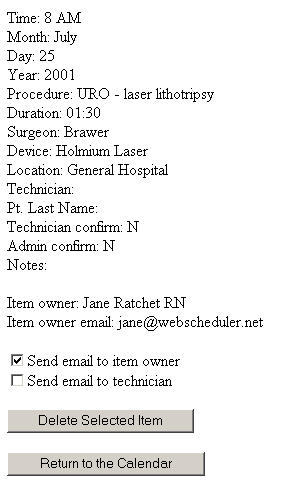
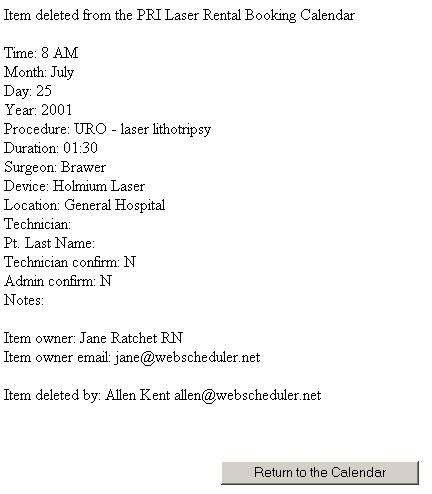
Administrator Delete
|
|
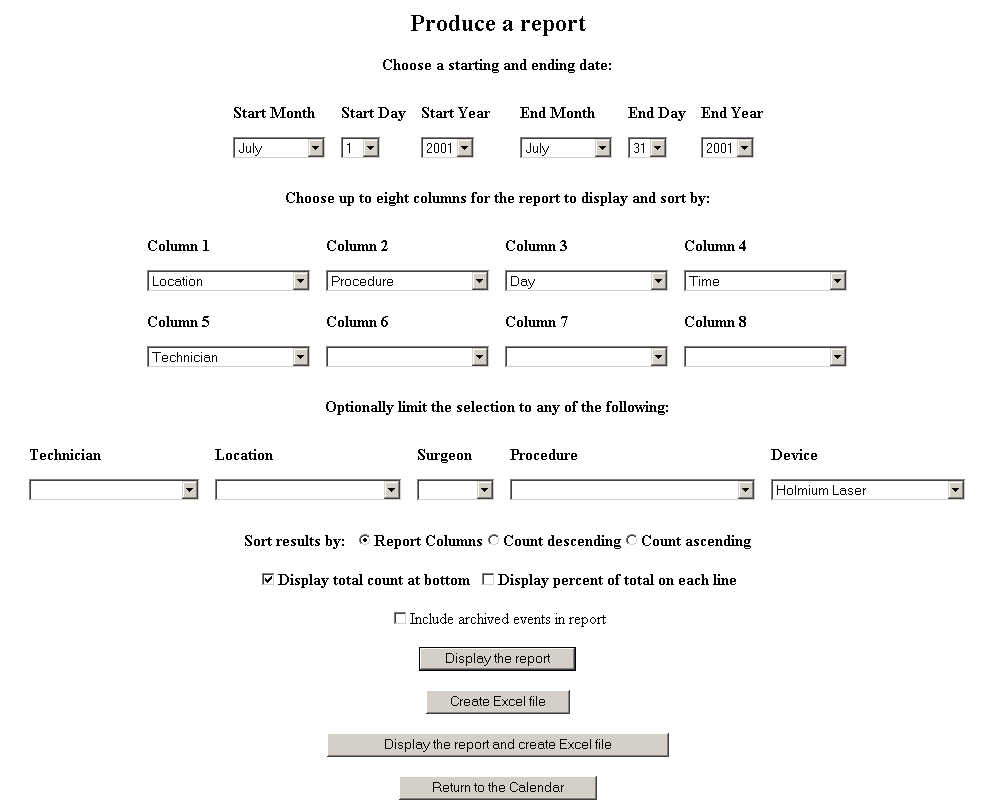
Produce a report
|
|
Set up a report
|
|
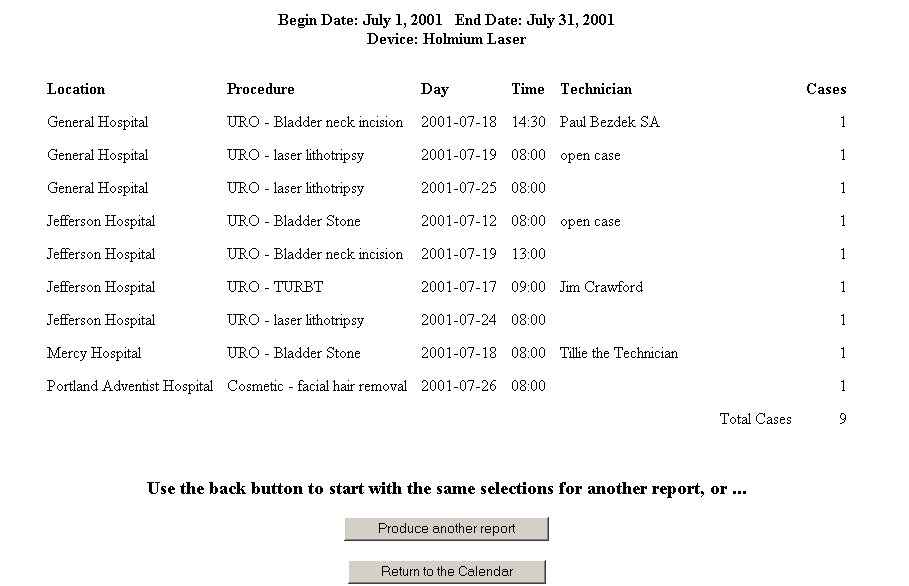
Display a report
|
|
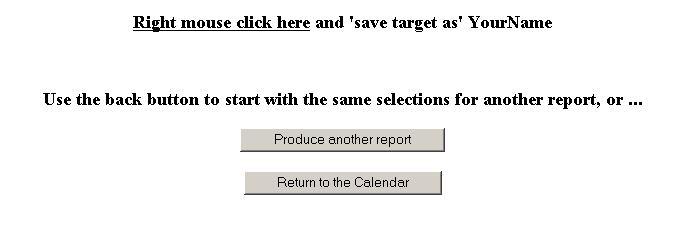
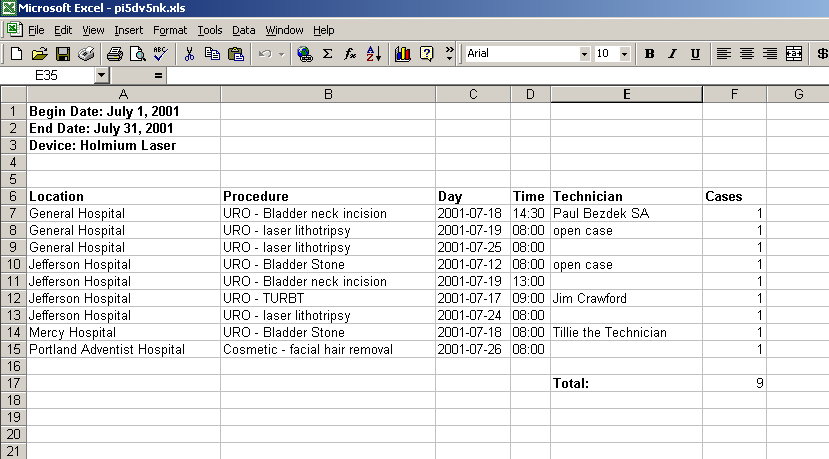
Download a report
|
|
Sample reports
|
|
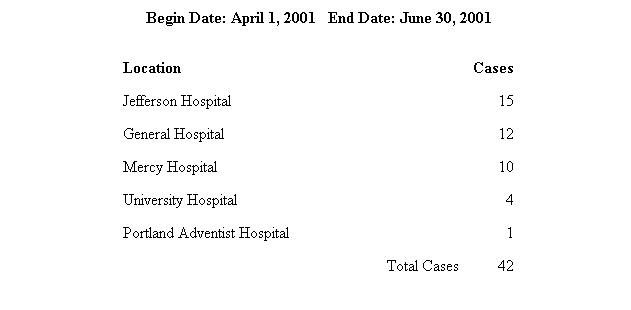
Location summary
|
|
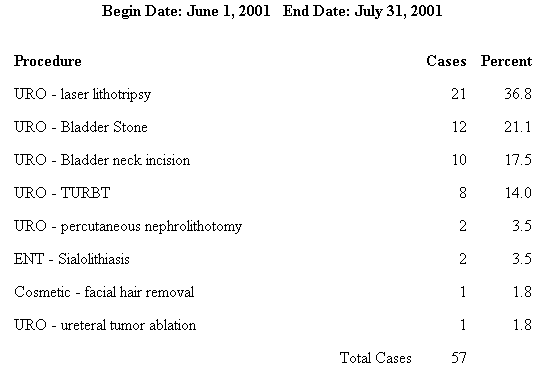
Procedure breakout
|
|
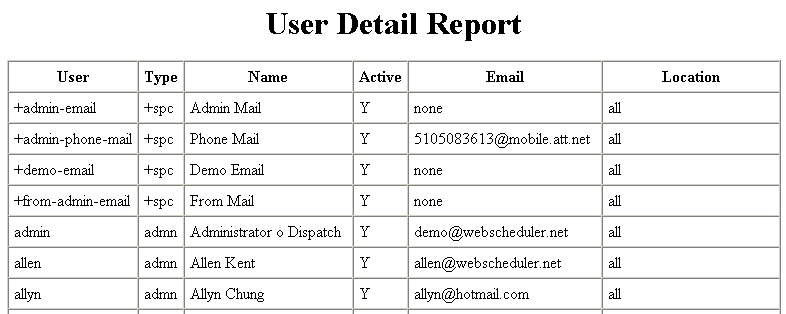
Surgeon detail
|
